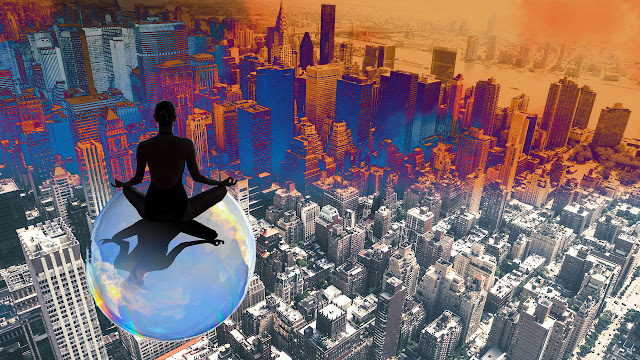
I then used one of my other images and blended it together by using the paintbrush set to 'clear mode' and then changed the settings to differences. Overall i am happy with my outcome and will be using what I have learnt again!
 |
| I added a shadow to make it look more realistic. |
Using the star shape and the dash sign to create this, I love this as it look very surreal
I then created 4 rectangles and coloured them in, I then blended it and changed the setting while using preview to see how it was going to look then I used the white arrow to make it curved as you can see to the left.
I then started another surrealism image using Biggie smalls
I then used the magic wand tool to delete the background and the clone to make the sky look more realistic.
I then did the same again with the coloured lines by blending them, I used the motion blur to blur him but i did it just so you can realise who it is. |


No comments:
Post a Comment