Adobe Illustrator
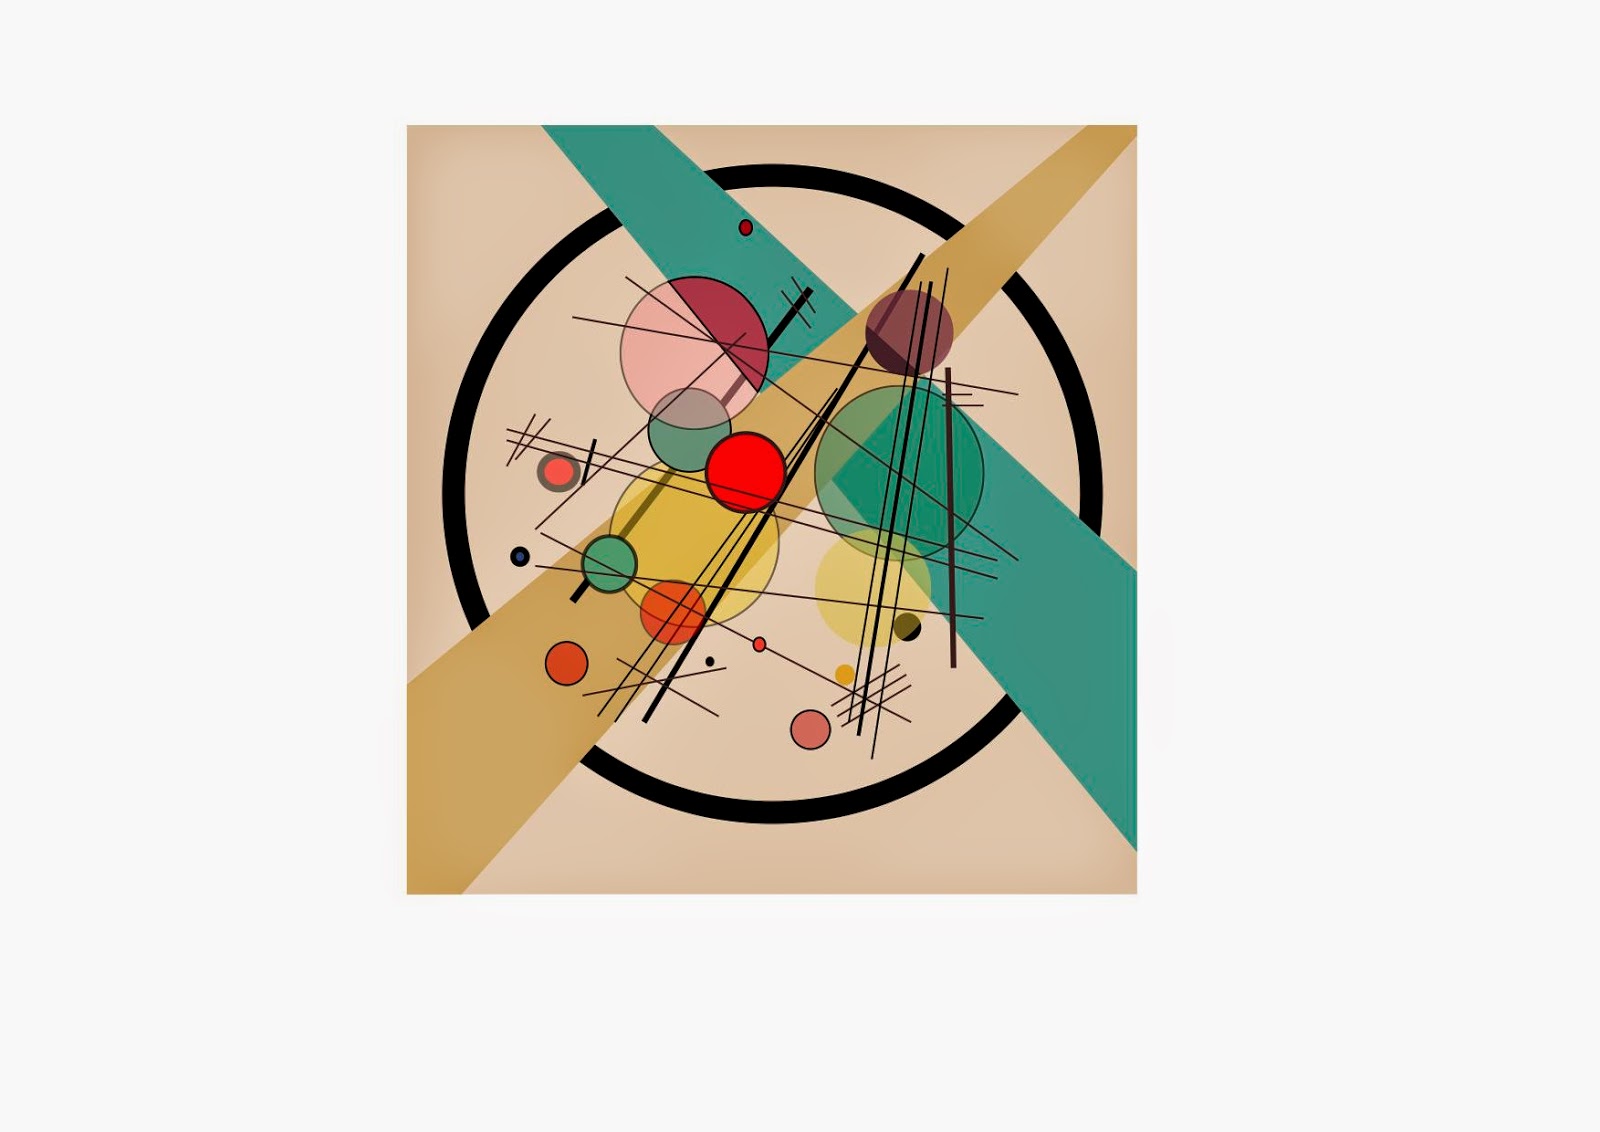
I was recreating a piece of Kandinsky’s work. Pictured below is Kansinsky's work and my recreation.
 |
| Kandinsky's work. |
 |
| This is my opacity one, you van see within the circles how I have changed the opacity, I like this one as you can see everything and I think it works well. |
3. I used the layer tool to position the objects. For example the beige coloured stripe is in front of the blue as you can see pictured. So the beige stripe would of been positioned at the top in the pallet of my layers with the blue one being below. You can click on the eye ball so you can remove the layer also you can lock it so you cannot edit it.
4. I changed the opacity by clicking the setting in the bar changing it from 100% opacity to 60% you can see the difference within my images. This means that you can see behind the object where as before you couldn't.
Pen tool: The most powerful tool in illustrator, can be used to create countless lines, curves and shapes, curved lines and straight lines. Serves for the building block for illustration and design. The pen tool is used by creating anchor points and by connecting those points you create 'lines'. The pen tool has unlimited possibilities the pen tool is found in the toolbar. Shape tool: From rectangle to stars their is a wide range of shape tools. To create a shape all you have to do is drag the shape diagonally to your desired size. Eye dropper tool: You can sample colours from your art work Colour panel: You can create inverse and complementary colours for the current fill or stroke colour, also create a swatch from the selected colour. Colour guide panel: Provides several harmony rules to chose from by the colour you have picked. You can create variations of shades, tints, warm and cool colours, or vivid and muted colours. |
 |
| Pictured above are all the tools I used. |

No comments:
Post a Comment